From selection to checkout
How to acquire a digital Moon plot in Craterra
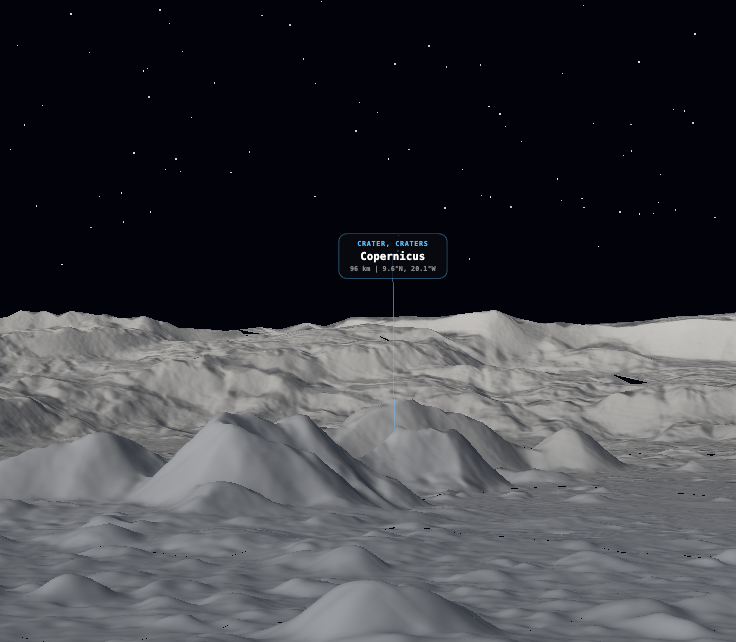
Acquiring a plot begins on the lunar surface. Choose a location, shape the plot from triangular units, decide whether to add a flag, and review the complete selection before checkout.
1. Choose the plot size
The smallest selectable unit is one triangular plot of approximately 30 m². Select adjacent triangles to create a larger continuous area.
Individual neighboring triangles can also form initials, simple symbols, or short messages across the lunar surface.
2. Make it yours with a flag
A flag is optional and can be customized with a background color, a design from the collection or custom text, an accent color, a neon effect, size, and direction.
Turn the selected place into a personal landmark and leave your own unique mark on the Moon.
3. Complete checkout
Review the selected area, coordinates, and optional flag. Checkout can use an available Craterra balance, combine that balance with a cryptocurrency transfer, or fund the full amount with a new transfer.
Payment routes are supported across Ethereum, Base, Polygon, Arbitrum, Tron, Solana, and Bitcoin.
4. Return to your place
Once acquired, the plot appears in your Craterra account. Its coordinates, geometry, and certificate keep the digital record connected to the location selected on the Moon.